
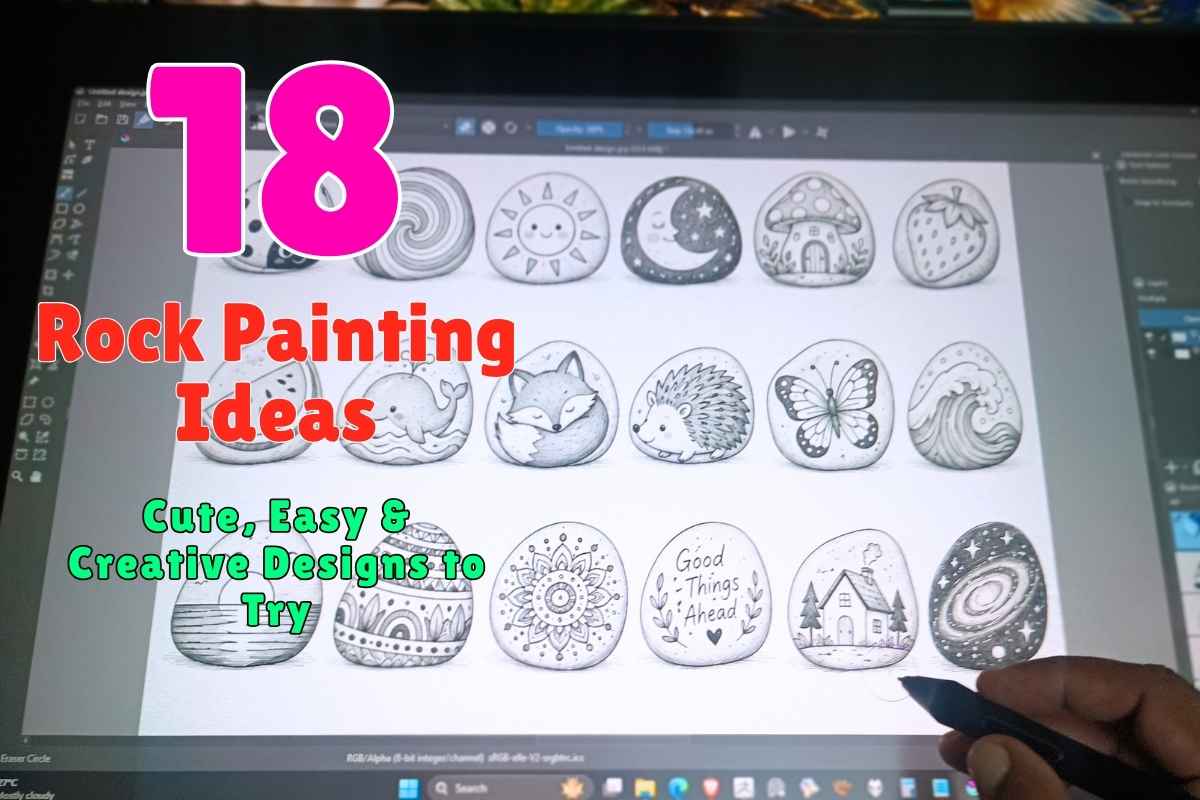
Rock painting is a fun way to turn simple stones into small pieces of handmade art. You don’t need a large canvas or advanced painting skills—just a few smooth rocks, some acrylic paint, and an idea you want to try.
The appeal of rock painting is that the natural shape of each stone can become part of the artwork. A round rock can work beautifully for a face or pattern, while a longer stone can become a scene, character, or decorative design. Current DIY content around painted rocks continues to emphasize easy, beginner-friendly designs that can be used for home décor, gifts, gardens, or relaxing creative projects.
Before painting directly onto the rock, you can lightly test your composition in your sketchbook. This is especially helpful when you’re trying a more detailed design or deciding how the artwork should fit the shape of the stone.
Here are 18 fresh rock painting designs to inspire your next creative session.
1. Cute Ladybug Rock
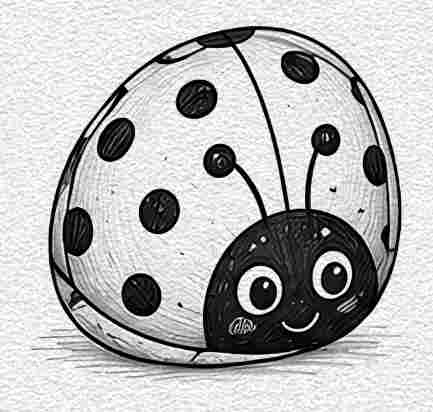
A ladybug is a classic painted-rock idea, but rather than making a standard realistic insect, create a simple rounded character with a playful expression. Choose an oval rock and use its natural shape as the body.
Start by sketching the center line and the basic head shape. Add evenly spaced dots, tiny eyes, and simple legs once the main paint has dried. Keep the details bold and uncomplicated so the design remains easy to reproduce.
2. Spiral Swirl Rock
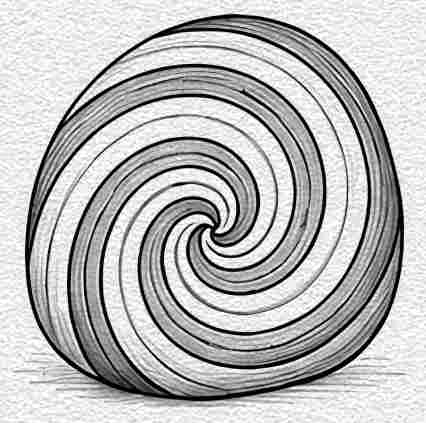
Turn an ordinary round stone into a relaxing abstract design using a large spiral. This idea is especially good if you want something decorative without painting a recognizable character.
Begin at the center and gradually draw a curved spiral toward the outside of the rock. Paint each section in alternating tones or leave some areas in the natural stone color for a simple, modern look.
3. Happy Sun Rock
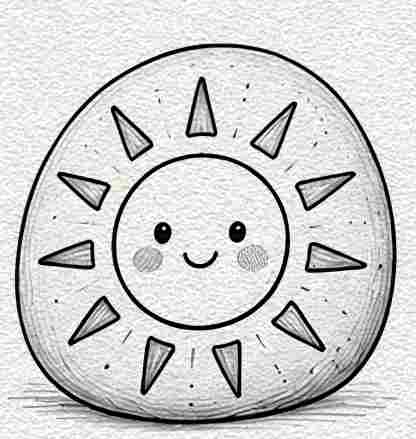
Create a cheerful sun with a simple circular face and rays extending around the edge. A naturally round rock works particularly well for this design.
Paint the central circle first and allow it to dry before adding the facial features. Finish with evenly spaced rays around the outside, varying their length slightly so the design feels handmade rather than perfectly geometric.
4. Moon and Stars Rock
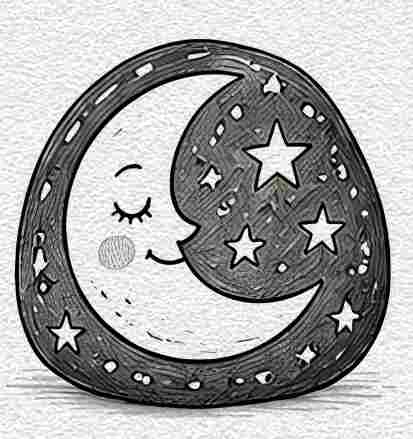
For a dreamy night-sky design, paint a crescent moon surrounded by small stars. Choose a dark background and use lighter colors for the celestial details.
Lightly sketch the crescent shape before painting it. Then add different sizes of stars around it instead of making every star identical. A few tiny dots can fill empty spaces and make the composition feel more balanced.
5. Mushroom House Rock
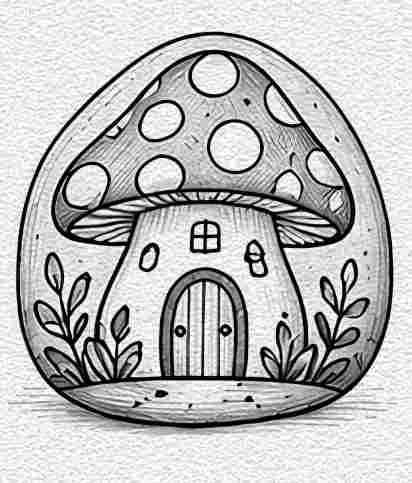
Instead of simply painting a mushroom, turn the shape into a tiny storybook house. Use a rounded stone as the base and paint a mushroom-shaped roof with a small door underneath.
Start with the large silhouette before adding windows, a door, tiny plants, or stepping stones. If you’re unsure about the composition, make a quick version in your sketchbook first and simplify any details that feel too complicated.
6. Strawberry Rock
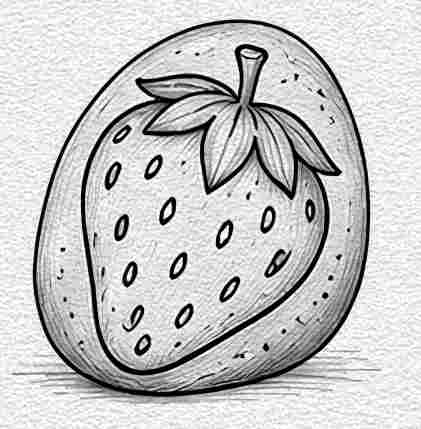
Create a strawberry-inspired rock using a simple rounded shape and a leafy top. This works particularly well on an oval stone.
Paint the main berry shape first and let it dry. Add the small seed shapes afterward, keeping them evenly distributed, then finish with the leafy crown at the top. You can make the design more graphic by using clean outlines and minimal shading.
7. Watermelon Slice Rock
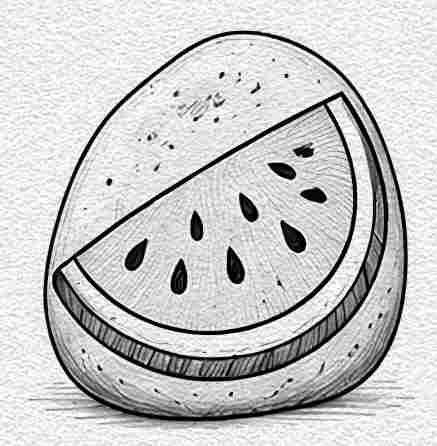
Use a flat or slightly oval rock to create a miniature watermelon slice. The curved edge of the stone can naturally become the outer rind.
Start with three simple curved sections for the rind, fruit, and inner edge. Once the paint dries, add small seed shapes across the center. Keeping the design bold and clean makes it particularly beginner-friendly.
8. Cute Whale Rock
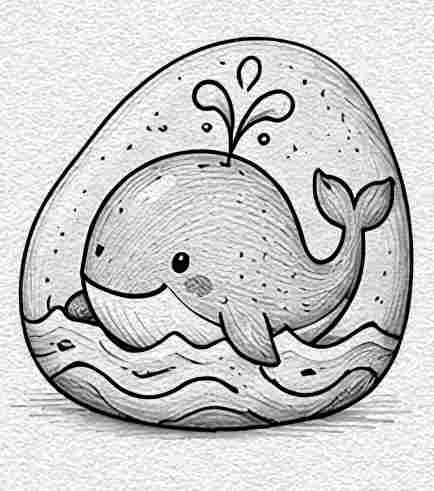
A longer oval stone can become a tiny whale swimming through waves. Let the natural length of the rock determine the direction of the body.
Sketch the whale’s basic silhouette first, then paint the body and add a small tail and fin. A few curved lines underneath can represent waves, while a tiny water splash above the whale adds movement.
9. Little Fox Rock
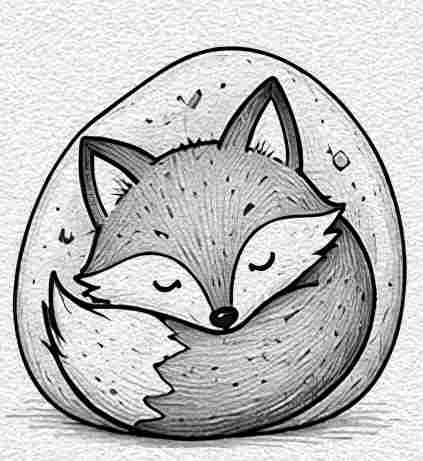
Turn an upright oval stone into a simple fox character. The pointed ears can be painted near the top while the natural curve of the rock becomes the fox’s face.
Begin with the large head shape before adding the ears, cheeks, eyes, and nose. Keep the facial features small and symmetrical. You can also use a few simple curved lines to suggest fluffy cheeks without attempting detailed fur.
10. Hedgehog Rock
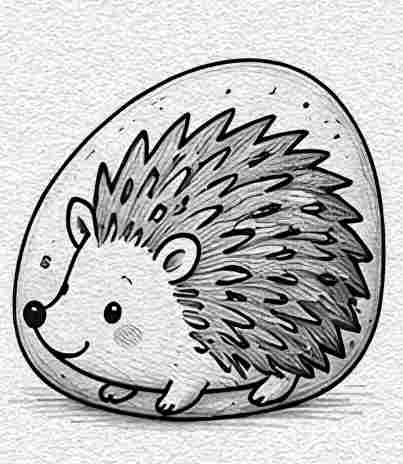
A rounded stone makes a great base for a cute hedgehog. Paint the face toward one end and use repeated short strokes to create the spiky back.
Start with the basic body silhouette, then add the face and nose. Once the base is dry, use a fine brush or paint marker to create short overlapping spikes. Keeping the spikes in slightly different directions will make the character look more natural.
11. Butterfly Pattern Rock
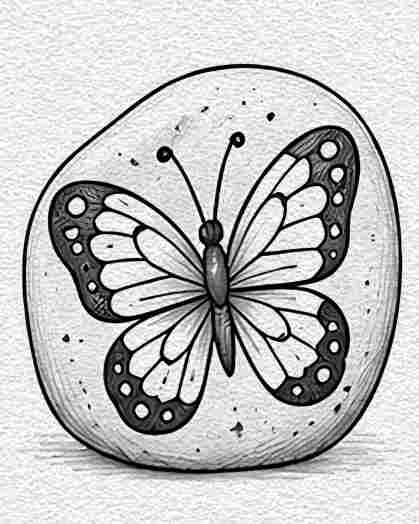
Instead of painting a realistic butterfly, create a decorative symmetrical wing pattern across the entire rock. This gives you more freedom to experiment with shapes and lines.
Draw a small center line first and build matching wing sections on both sides. Fill the wings with dots, curves, small geometric shapes, or simple borders. You can test the pattern in your sketchbook before transferring it to the stone.
12. Ocean Wave Rock
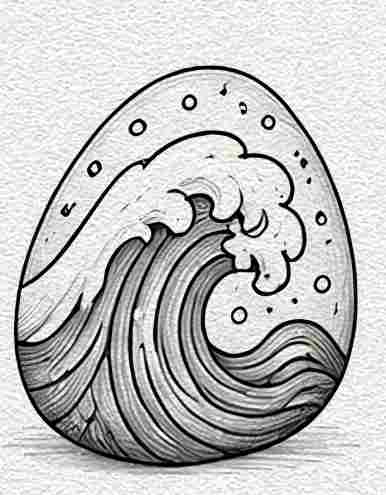
Create a miniature ocean scene using a curved wave as the main element. A slightly elongated rock works well because you can use its length to show the movement of the water.
Start with a large sweeping wave shape and add smaller curved lines underneath. Use different shades to separate the water layers, then add a few tiny foam details near the crest.
13. Sunset Rock
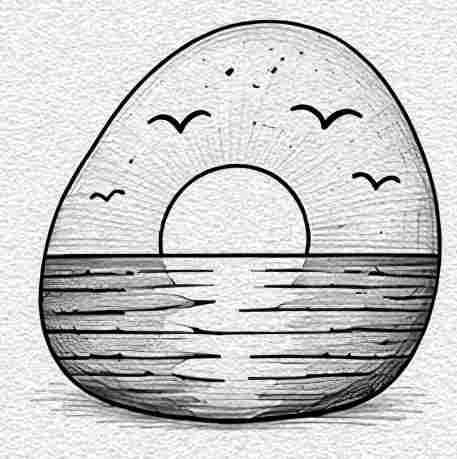
Turn a smooth oval stone into a tiny sunset landscape. Paint a simple horizon line across the middle and create a circular sun touching the horizon.
Build the scene with broad horizontal bands rather than trying to paint a highly detailed landscape. Add a few simple silhouettes along the bottom to give the small painting depth.
14. Boho Pattern Rock
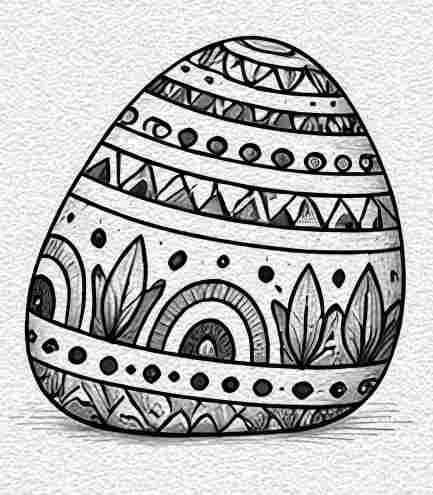
For a more decorative design, cover a stone with simple boho-inspired patterns. Combine arches, dots, stripes, semicircles, and small geometric shapes.
Start with the largest pattern elements and gradually fill the empty spaces with smaller details. Don’t worry about perfect symmetry—the slight differences are part of the handmade character of painted rocks.
15. Mandala Dot Rock
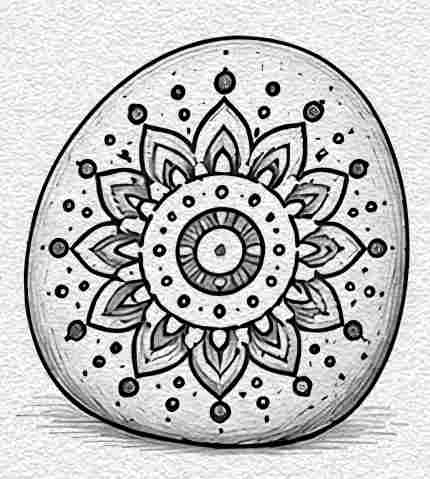
A mandala-style rock is ideal when you enjoy repetitive patterns. Begin with a small central dot and gradually build rings of dots around it.
Use a dotting tool, the end of a brush, or another rounded tool to create consistent circles. Work from the center outward and allow each layer to dry when necessary. The result can look detailed even though it is constructed from very simple shapes.
16. Positive Quote Rock

Create a small inspirational message on a smooth, light-colored stone. Keep the wording short so it fits comfortably within the available space.
Lightly sketch the lettering first, then paint the main words with a fine brush or paint marker. Add a few tiny decorative elements such as stars, dots, leaves, or simple lines around the message without overcrowding the rock.
17. Tiny House Rock
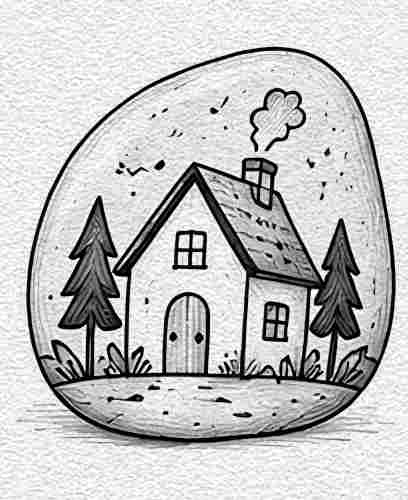
Paint a miniature cottage scene on an upright stone. Use the natural shape of the rock to determine where the roof, walls, door, and windows should go.
Start with the largest shapes before adding smaller architectural details. A tiny path, two windows, or a couple of simple trees can make the design feel like a complete little scene without requiring complicated painting skills.
18. Galaxy Rock
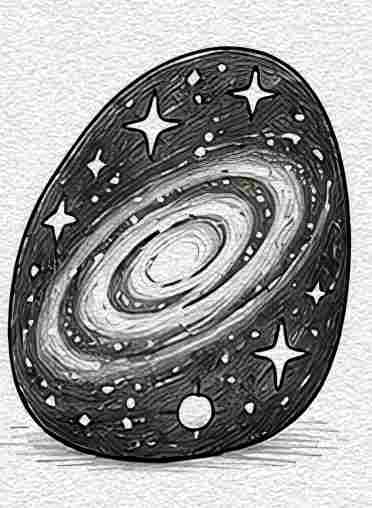
Finish your collection with a small galaxy-inspired stone. This design works particularly well on a dark-colored or naturally dark rock.
Begin with a dark base and build a soft curved band across the stone to represent the galaxy. Add tiny dots for stars and a few larger star shapes for contrast. You can experiment with the arrangement in your sketchbook before painting the final version onto the rock.
Rock painting is a creative hobby where simple shapes can become surprisingly expressive artwork. You can make a cute character, build a miniature scene, experiment with patterns, or create an abstract design—all on a single small stone.
If you’re a beginner, start with designs that use basic shapes such as the spiral, sunset, quote, or simple pattern. Once you’re comfortable painting on the curved surface, try more detailed ideas such as the fox, hedgehog, mushroom house, or galaxy.
A useful approach is to sketch your idea first. Your sketchbook can help you experiment with composition, lettering, patterns, and proportions before committing the design to a rock. Then let the natural shape of the stone influence the final artwork rather than trying to force it into a perfect shape.
Most importantly, don’t worry about making every rock perfect. The charm of painted rocks comes from turning an ordinary stone into something personal, colorful, and handmade.